Heatmap
This renders the view using colour coding for different lux levels, rather than applying the glow filter.
The heatmap render mode is primarily used for visualising light levels within the scene.
All projectors and LEDs output white content in this mode. The graph on the right goes up to twice the camera’s exposure max-lux level, so use that to scale it if necessary. This is the mode that will be used for Projector studies.
Please note: Modern rendering modes such as
-
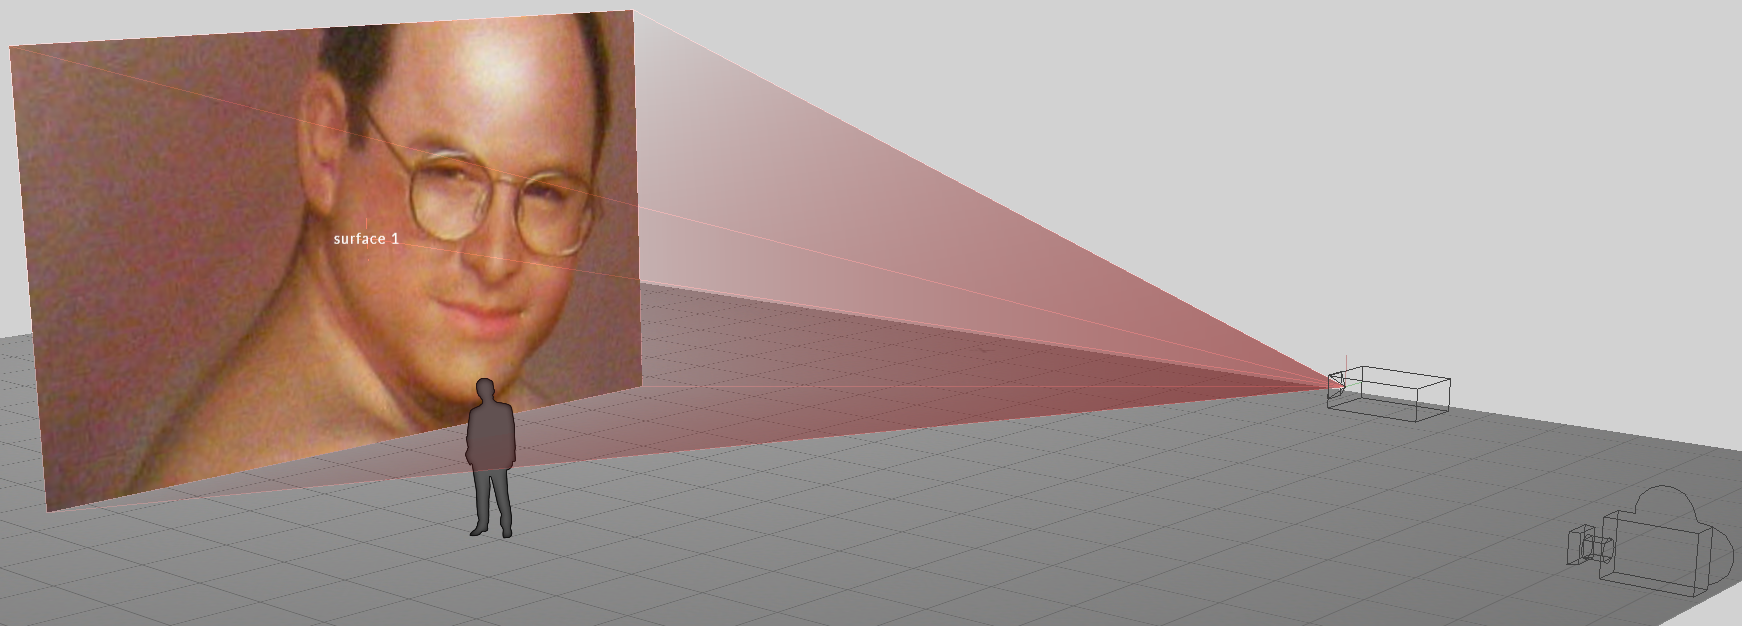
Setup your project as normal by adding projectors, screens, venues & props.
-
Change your visualiser camera to Heatmap mode, or make a new Camera to assign to a feed output.
-
Define your target lux in the heatmap editor.
-
Open the stage editor by right clicking Stage from the dashboard or by right clicking the floor in the visualiser.
-
Expand the Cameras tab, and right click Visualiser camera to edit the visualiser camera settings. Alternatively, you can edit another camera and output that to the feeds.
-
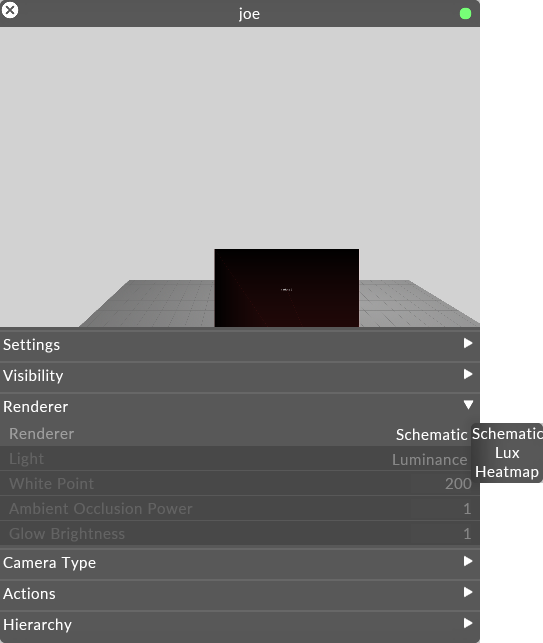
In the camera editor, expand the Renderer tab and set the render mode to Heatmap.

You are now viewing the heatmap visualisation of the photometric quantity specified by the Light field under the render tab within the camera editor.
The key shown in the heatmap editor shows the colour scheme and scale of the heatmap.
-
Open the heatmap editor.
-
Set the target value to be the preferred surface illuminance or luminance that you want to achieve.
-
Position the camera in the visualiser.

-
Left click Feed from the dashboard.
-
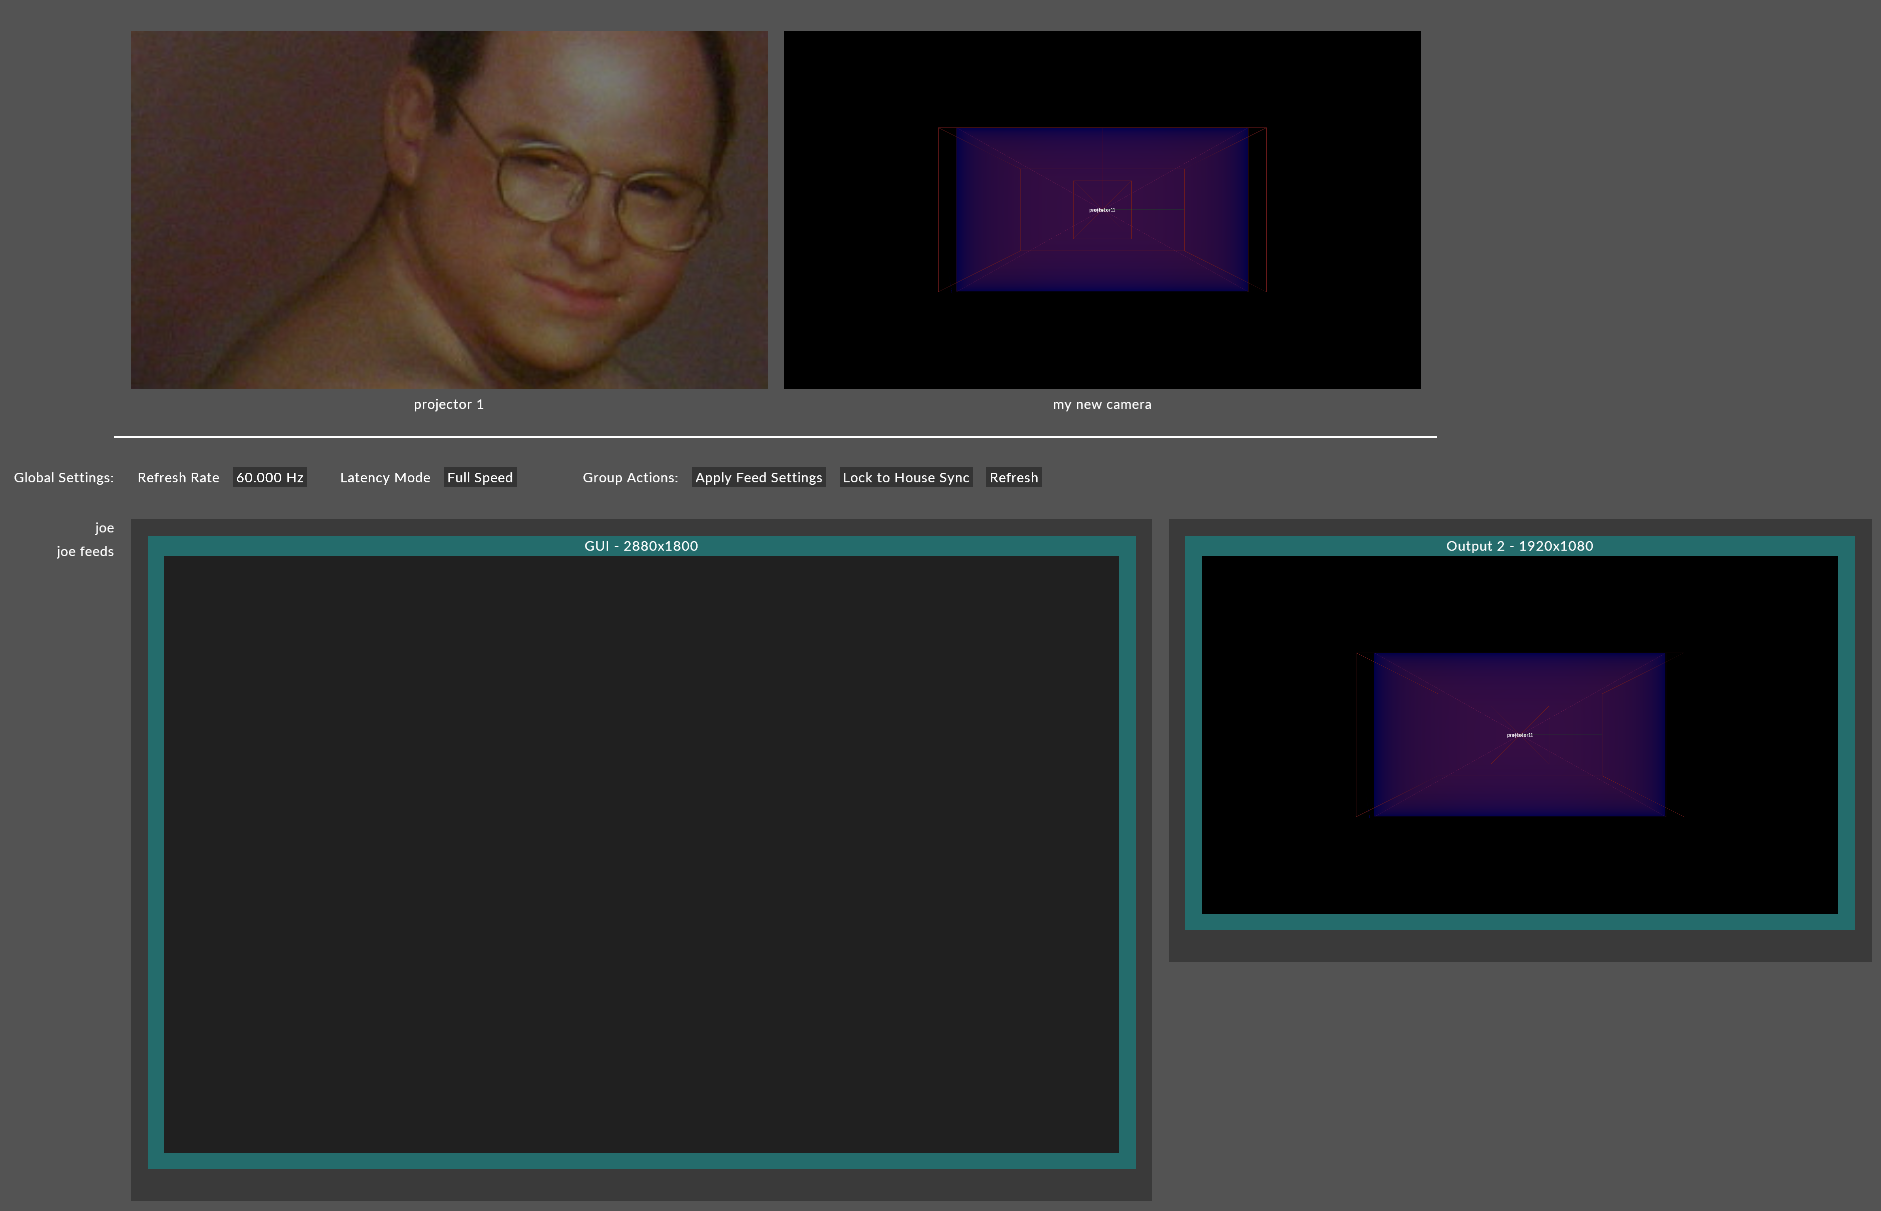
Right click on the camera feed at the top of the feed scene and left click Add feed rectangle or alternatively hold ALT, left click and drag an arrow from the camera feed to an available output head.

The value that determines the centre of the colour scheme, which is green.
Manually sets the minimum value of the scheme.
Manually sets the maximum value of the scheme.
Please note: When you change target, this will change the minimum & maximum values to be zero for miniumum and double for maxiumum of the target value.