PreComp
A PreComp (or pre composition) in Disguise software acts as a virtual screen for you to write content to which can then be used as an input to another effect or composition. It also provides an alternative to the arrowing system which was limited to a one to one input, whereas a PreComp can be one to many.
A PreComp (or pre composited texture) acts as a container for multiple textures, which can then be used as an input source to another effect or composition. It also expands the capabilities of the arrow/piping system, which was limited to a one input per source. A PreComp can be many inputs to many sources.
The PreComp is applied as a mapping to all the texture/content inputs of the composition.
A PreComp is created like other textures in the disguise software such as masks, from the Textures menu, which can be accessed from any layer that utilizes a texture input. Like any other texture, once it is created, it will be stored in the Textures menu and can be used in other locations.
-
Create a new layer and select a layer type that has a Texture source property, such as an Effect layer or Legacy Bitmaplayer.
-
In the new texture field, enter a name for your PreComp. Choose PreComp Texture as the texture type.
-
Set the desired resolution for the PreComp (just as you would do if this was a real, physical screen. This should correspond to the resolution of the screen it will be mapped to.
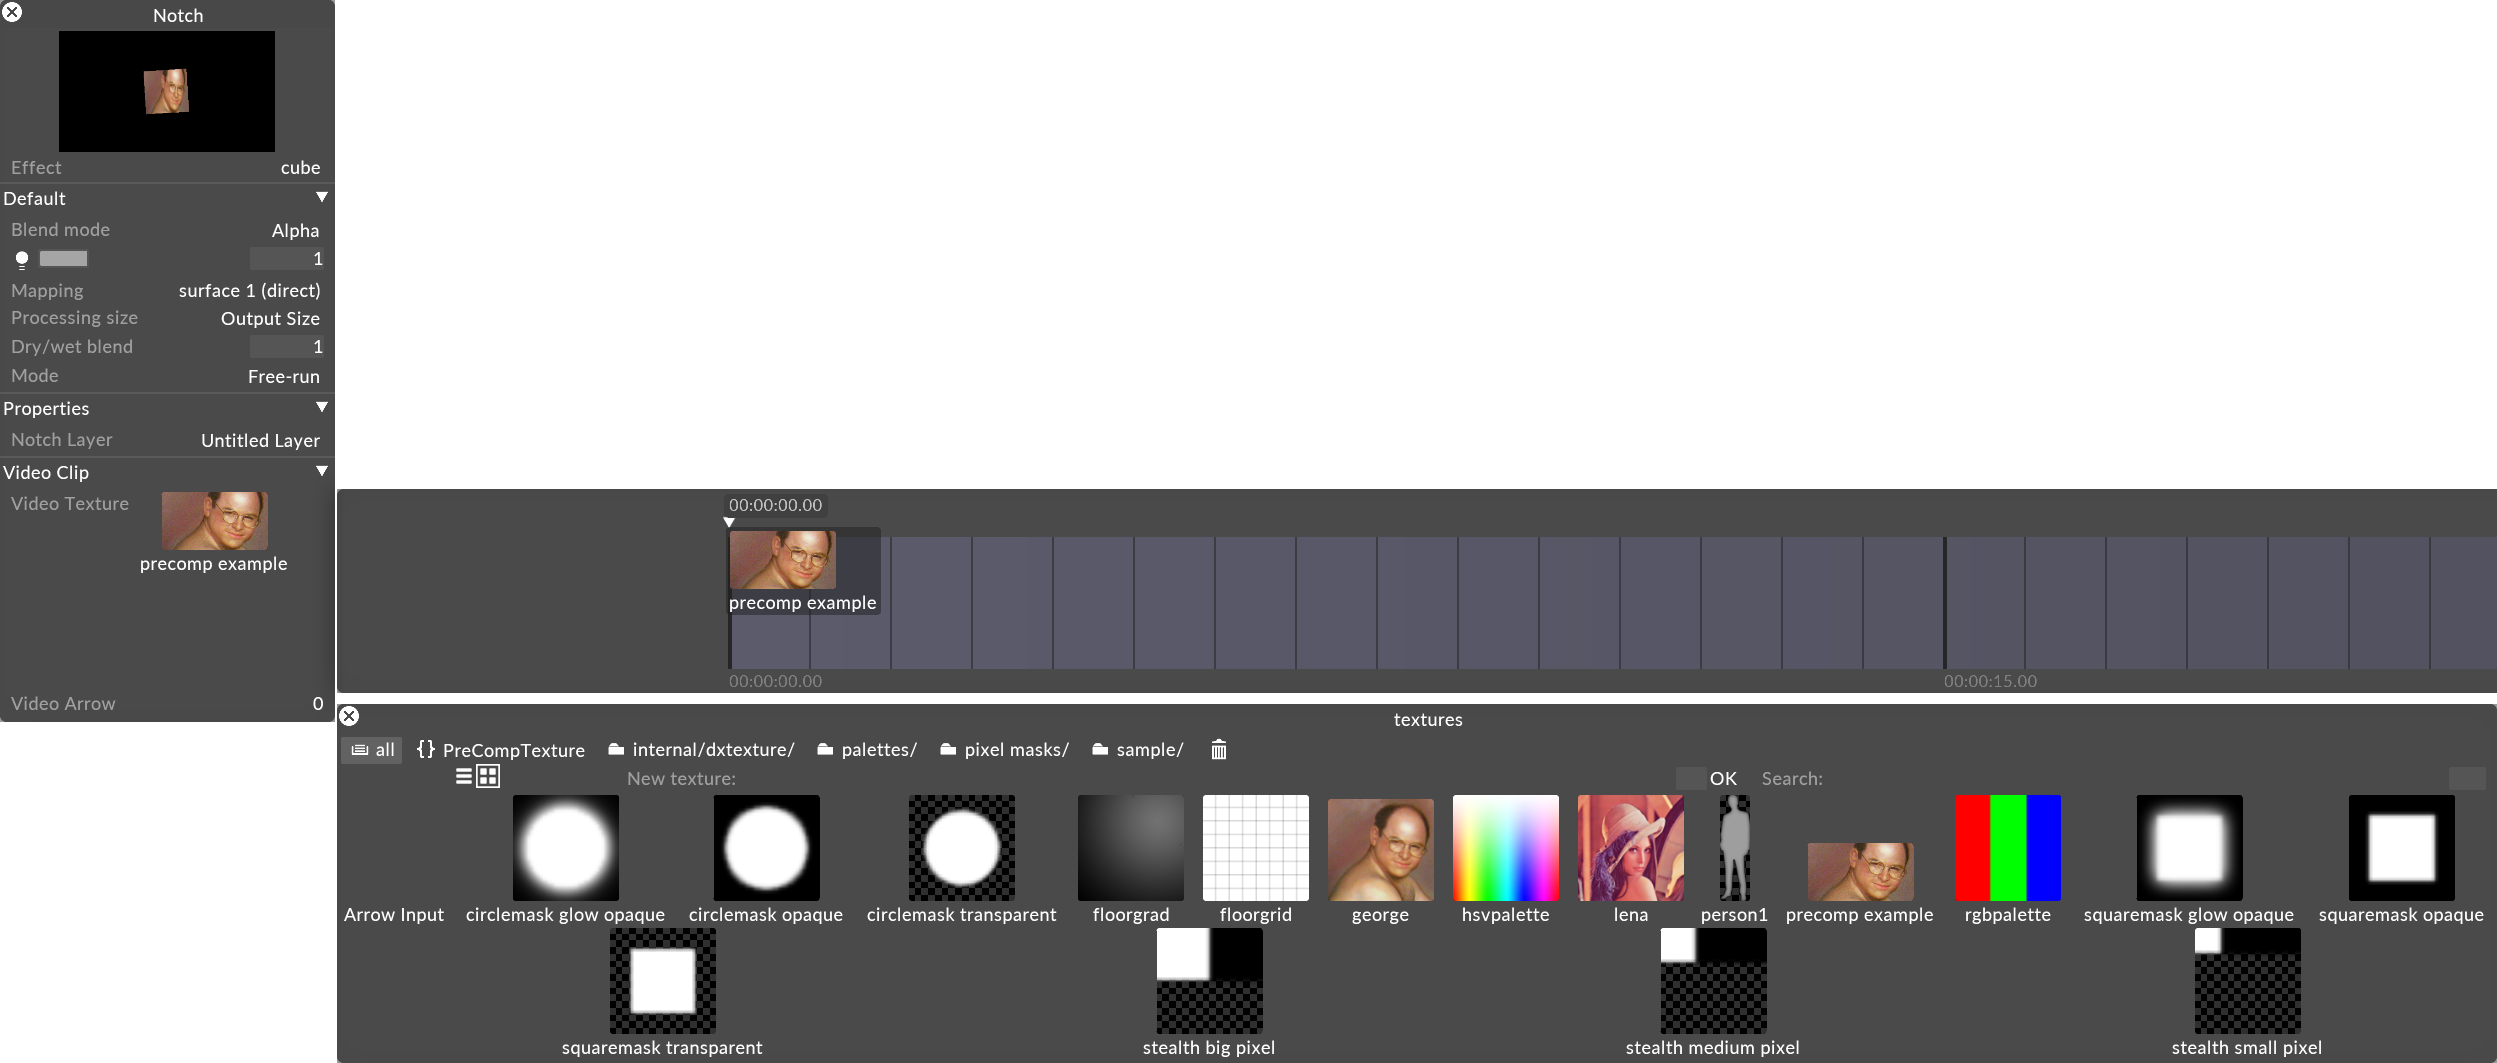
Once you have created a PreComp, a new default Direct mapping will now be present in the Mappings Manager, allowing you to route content into the PreComp from a content layer. Content layers include other texture layers as listed above, Video layers, and Generative layers.
-
Create a content layer and left click on the content layer in the timeline to open the layer's properties.
-
Set the layer to display the desired content.
-
Under the Mapping properties field, select the mapping with the same name as the newly created PreComp.
-
Repeat these steps with as many content layers as will be used in the PreComp.
Please note: A PreComp cannot be chained, i.e. a PreComp cannot feed into another PreComp.
The PreComp can be used as the Source texture input to an effect layer.
-
Create an Effect Layer and position it above the source PreComp layers.
-
Set the Effects layer mapping to the screens the content will be shown on (do not choose the PreComp mapping).
-
From the Source Input field under the Default tab, select the PreComp.
-
All of the individual content layers will now be piped into the Effect layer simultaneously.
-
Hold down shift and left click to select all of the source layers used in the PreComp.
-
Right click on the layers and name a group for the source layers.
-
Note that the source layers must be underneath the Effect layer for the PreComp to show up.

Please note: The source layers that make up the PreComp have to be positioned under the Layer that is referencing the PreComp texture. To reuse the same PreComp in multiple places, the source layers must be duplicated.
In order to use the PreComp in multiple locations, all of the layers that are contained in the PreComp stack need to be copied as well. One way to do this is to create a Group for the PreComp and all of its layers.
-
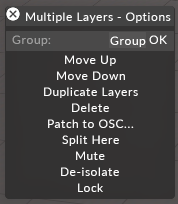
Select all of the layers that are contained in the PreComp stack; once all have been selected, then right click on the group while they are selected. Type in a name for the group of layers in the Group field and click OK.
-
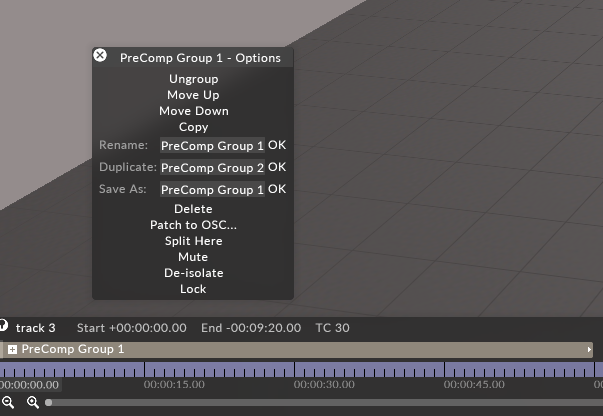
Next, right click on the name of the newly created PreComp group in the timeline; click OK next to the Save As field; this will add the group of layers to the Layer Library
-
Switch to the desired track.
-
Right click in the timeline for the track.
-
Select Import Layer.
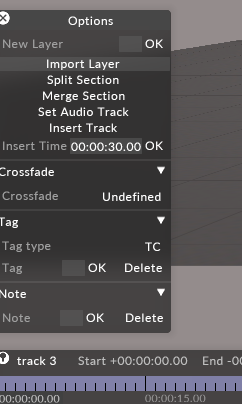
-
Select the name of the group of layers you wish to import from the Layer Library.

Now you can use the same PreComp many times throughout the project.
-
Right click on the PreComp thumbnail in the Layer properties window.
-
Use middle mouse button to pan around the expanded preview.
